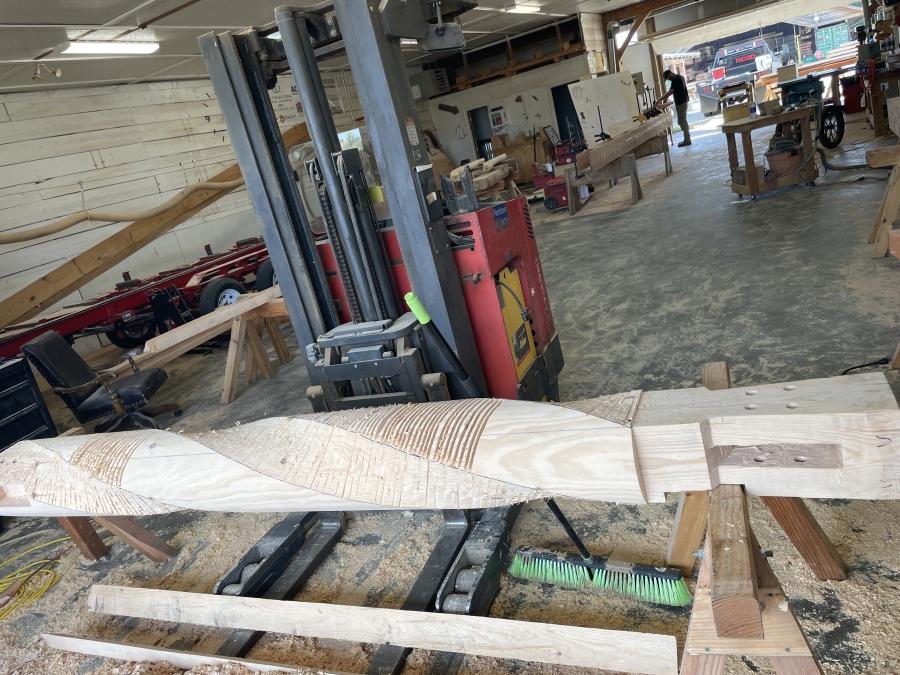
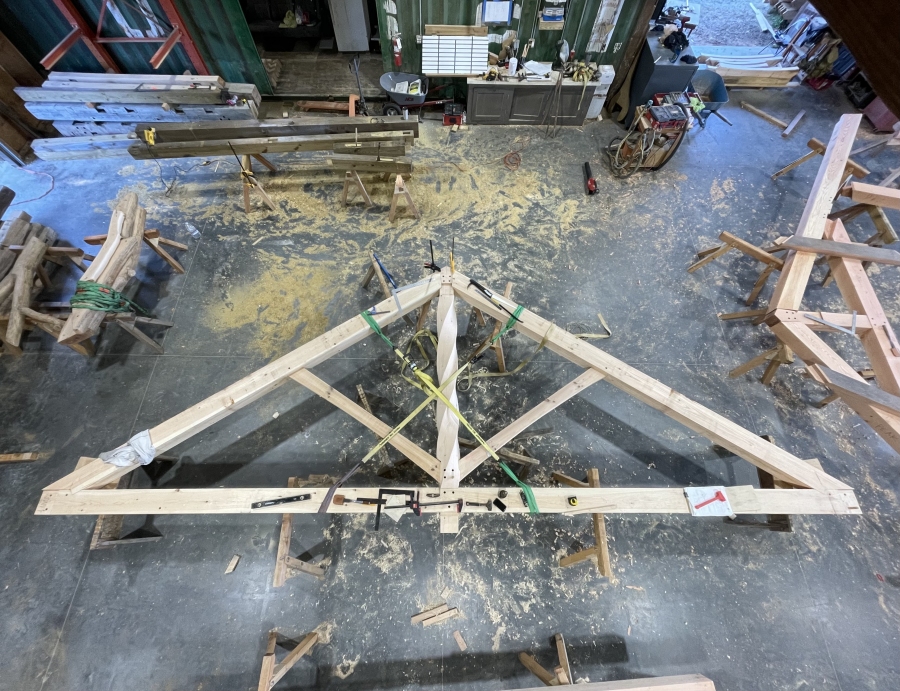
This spiral timber is a special feature in our new showroom. Cutting this amazing white pine spiral took Stephen about 40 hours! White pine is readily available in our region, and is an attractive honey color. Low shrinkage, minimal cracks and twists are some of the benefits of working with this timber species. Stephen documented this involved process and the photographs below show the steps.
Spiral Timber Process

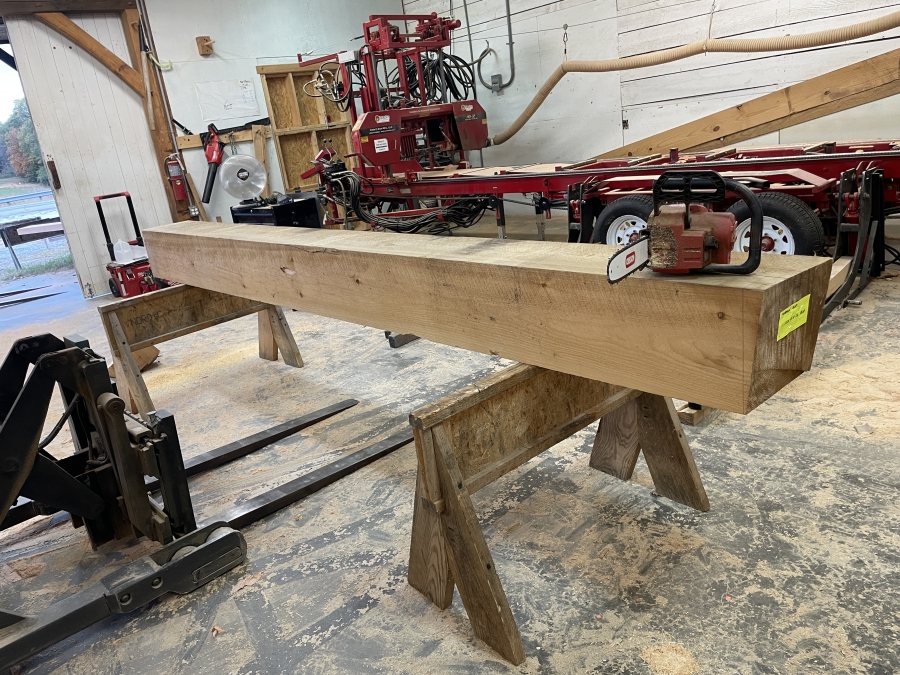
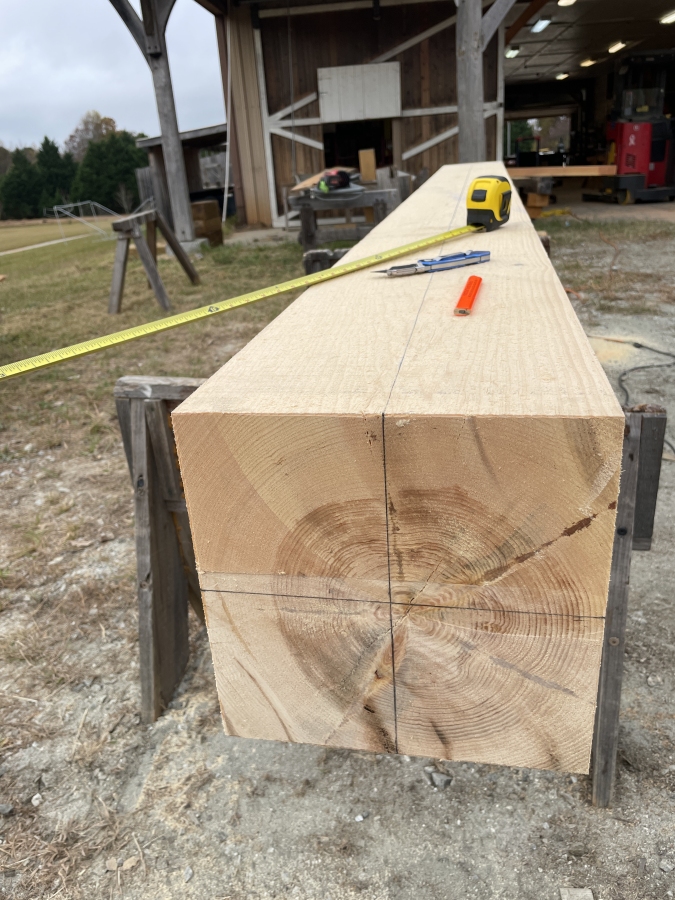
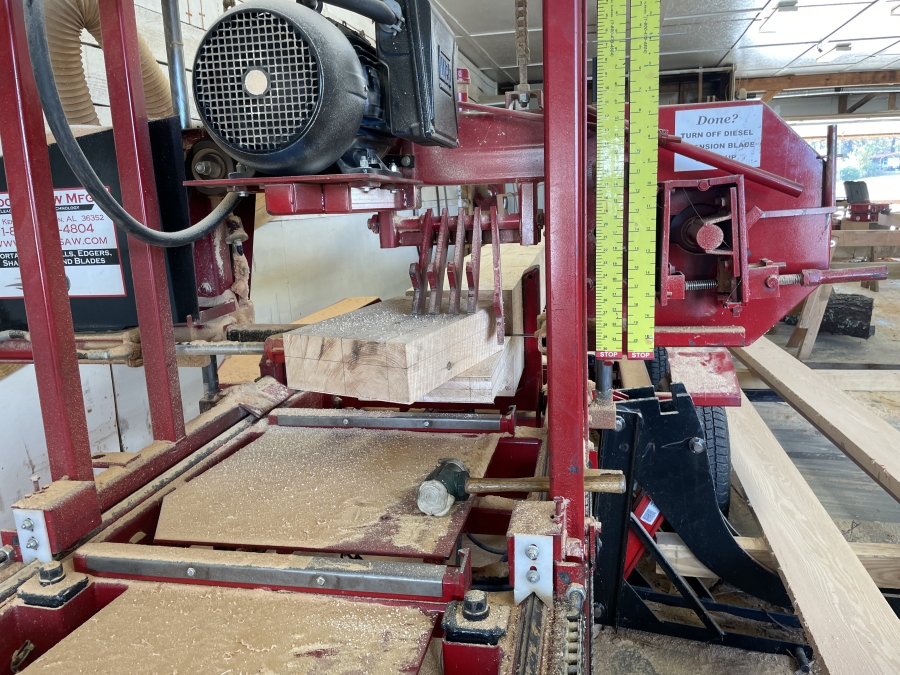
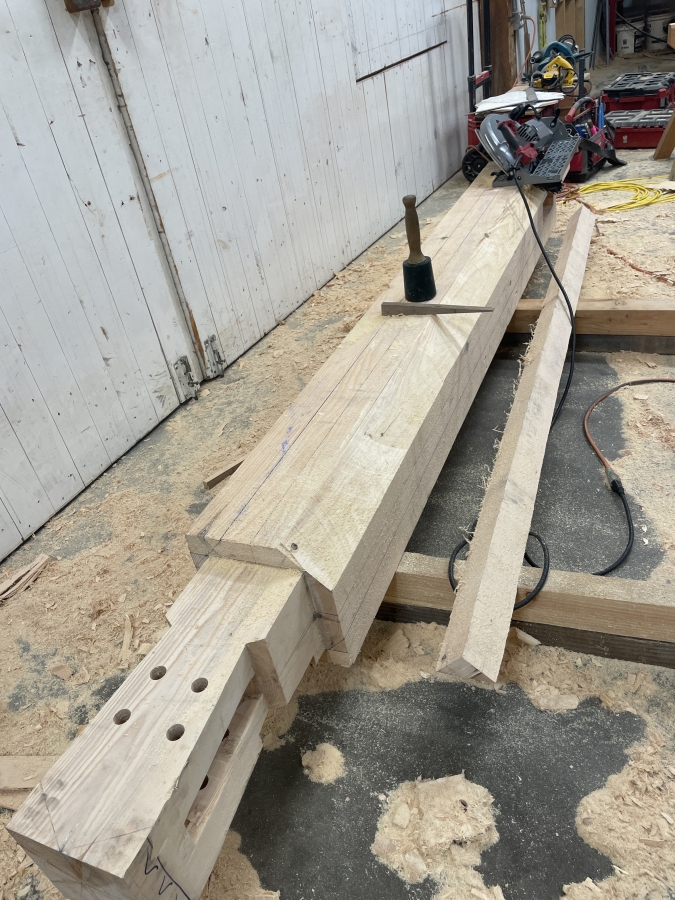
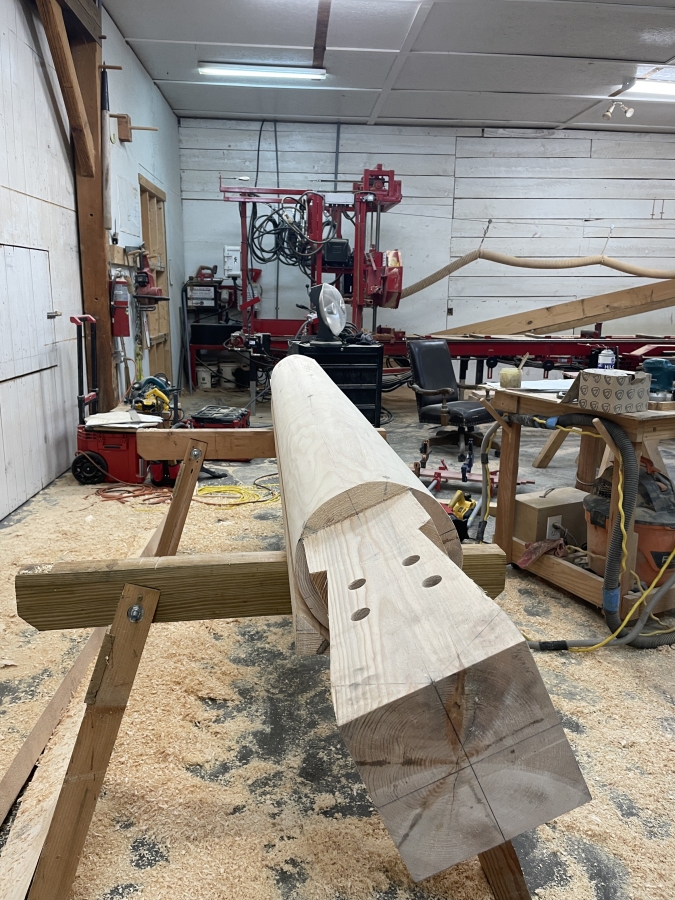
Stephen started with a 12" x 12" white pine timber

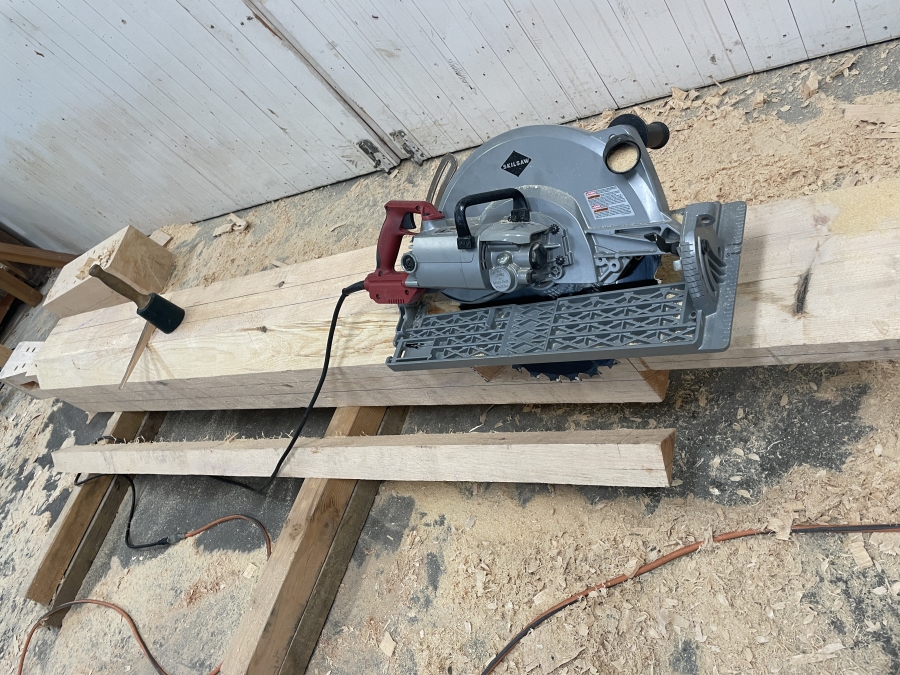
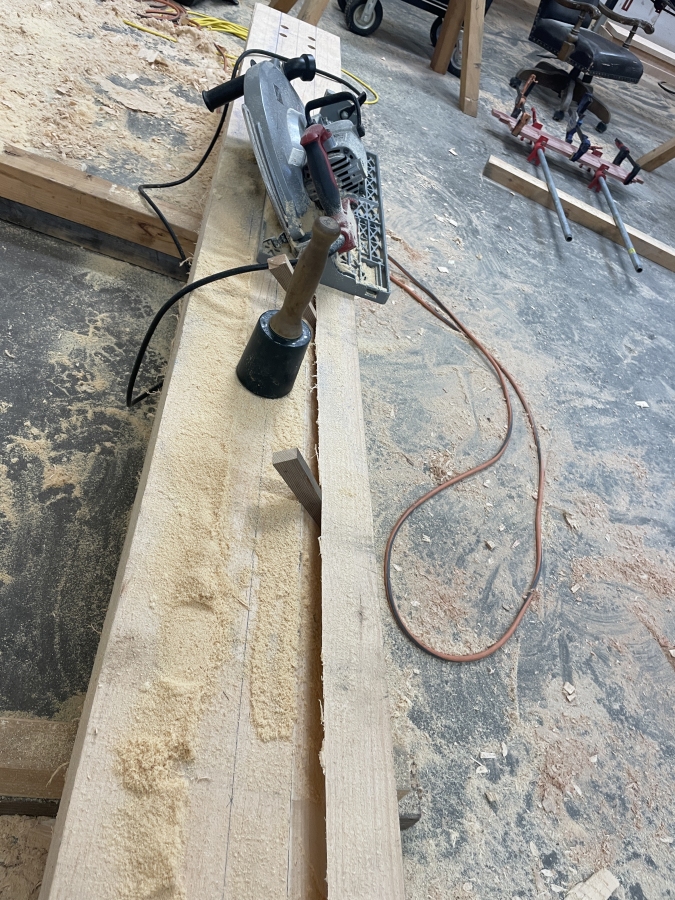
The timber was first cut to length

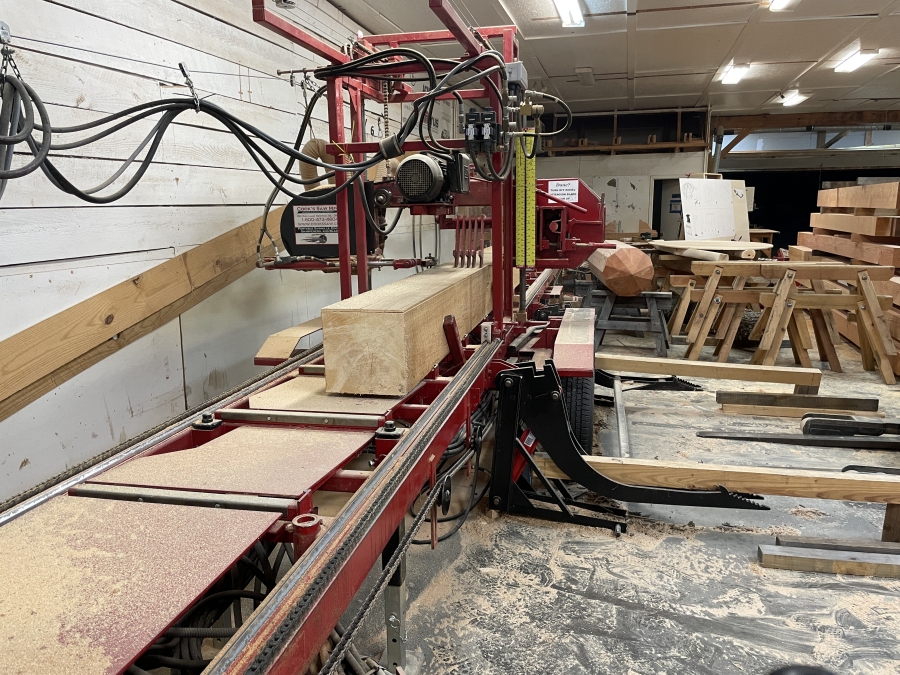
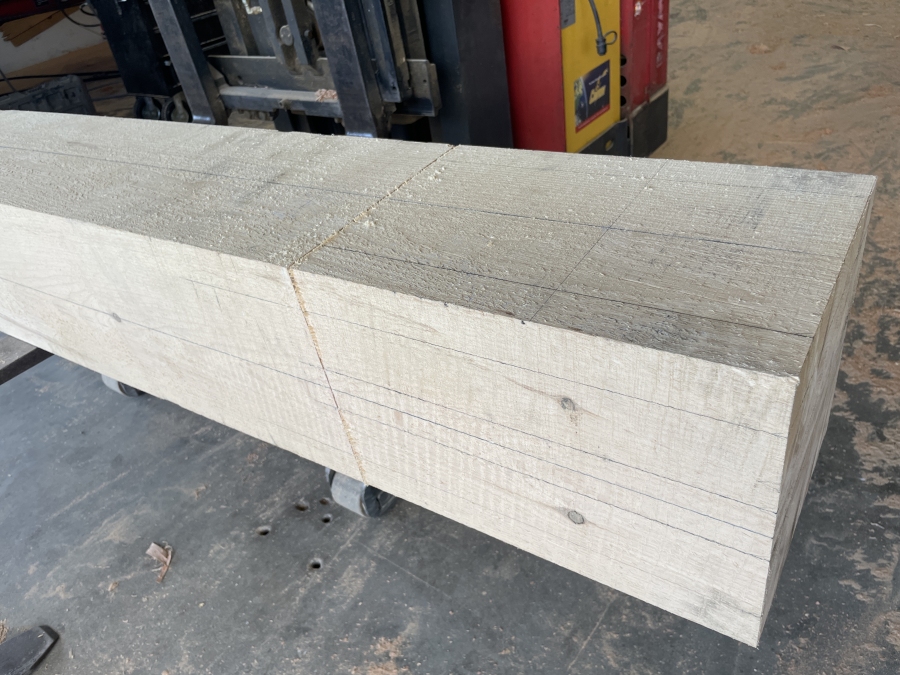
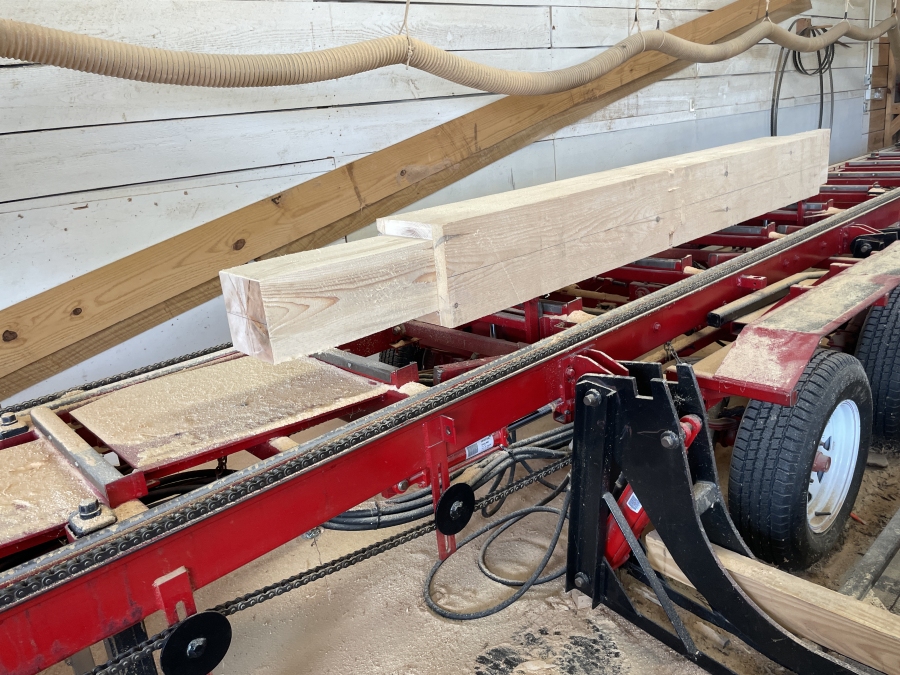
Mill the timber to the exact size

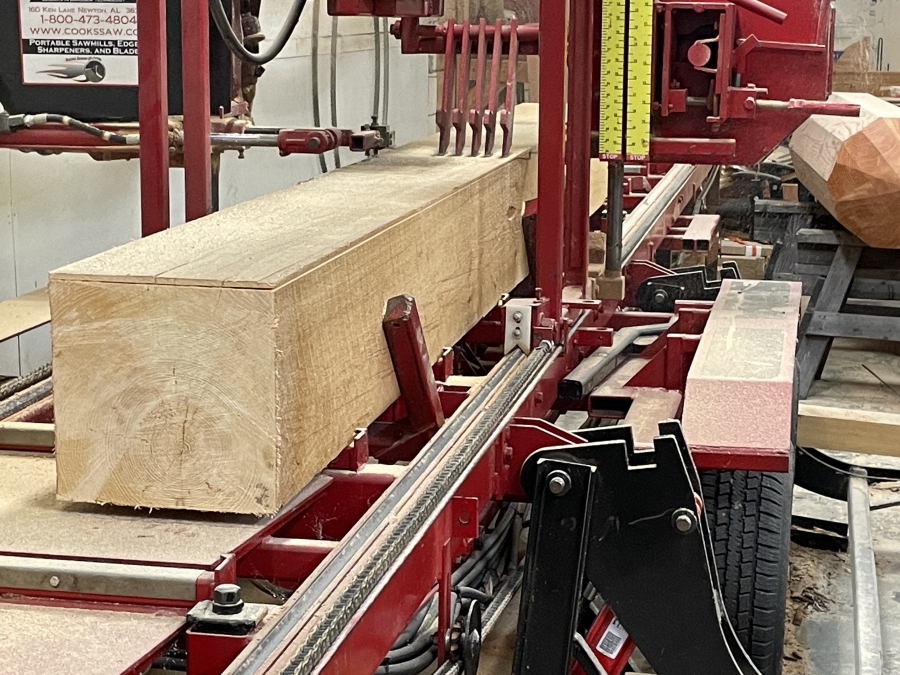
Resawing the timber to ensure accuracy

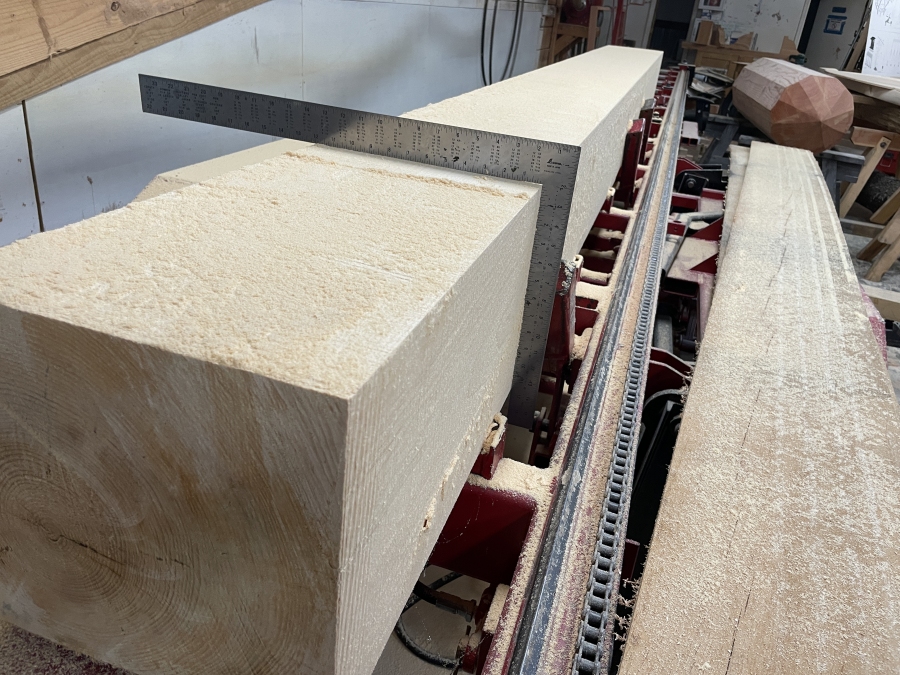
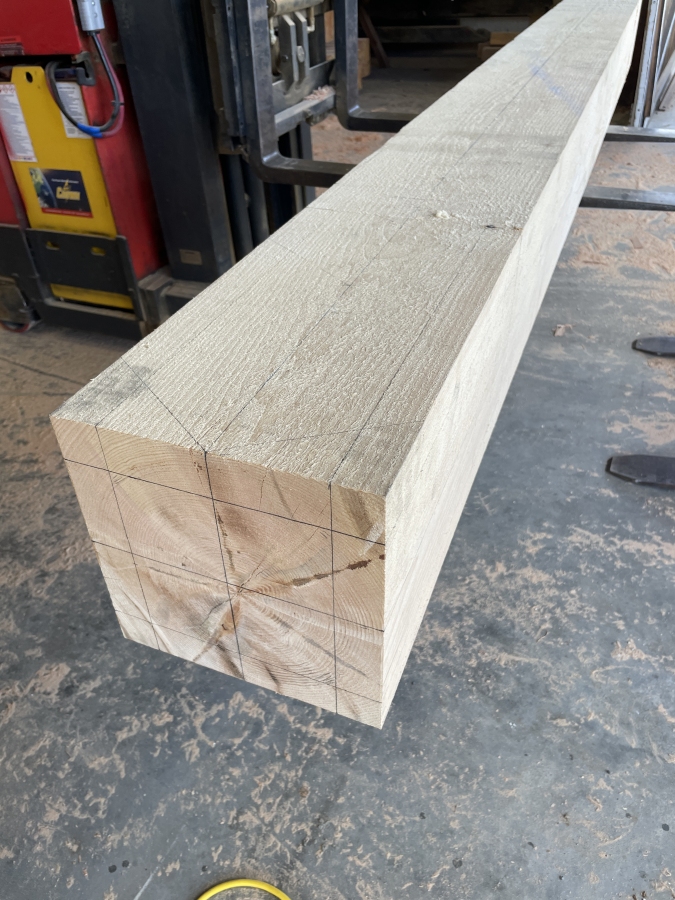
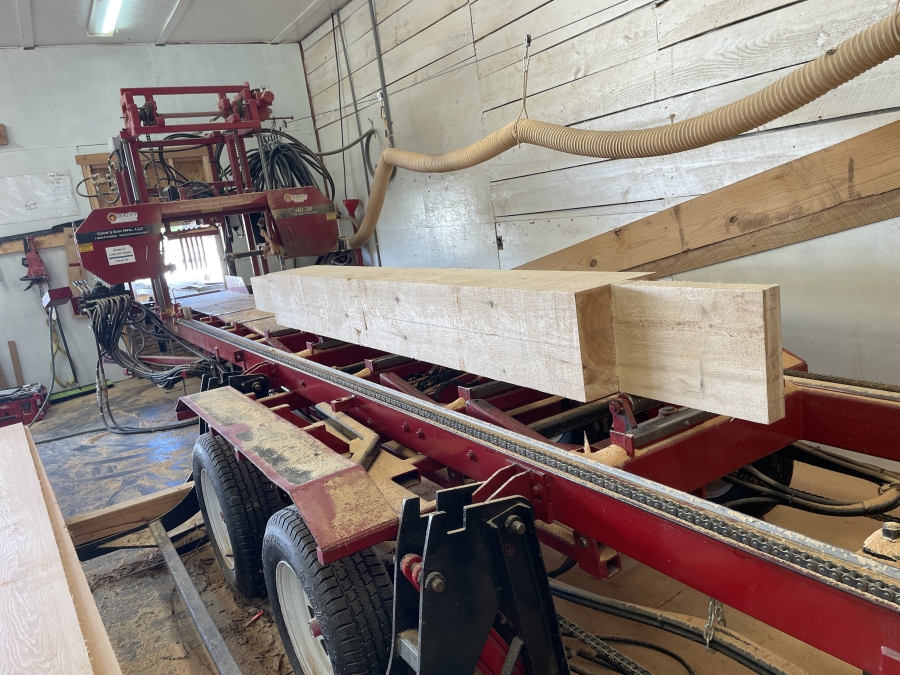
Verifying accuracy is always important

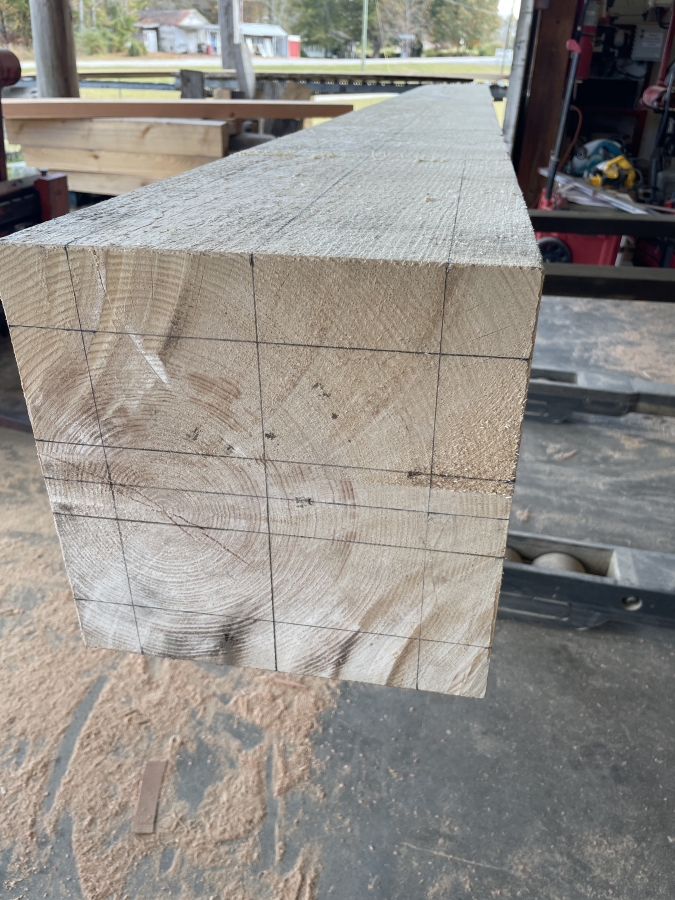
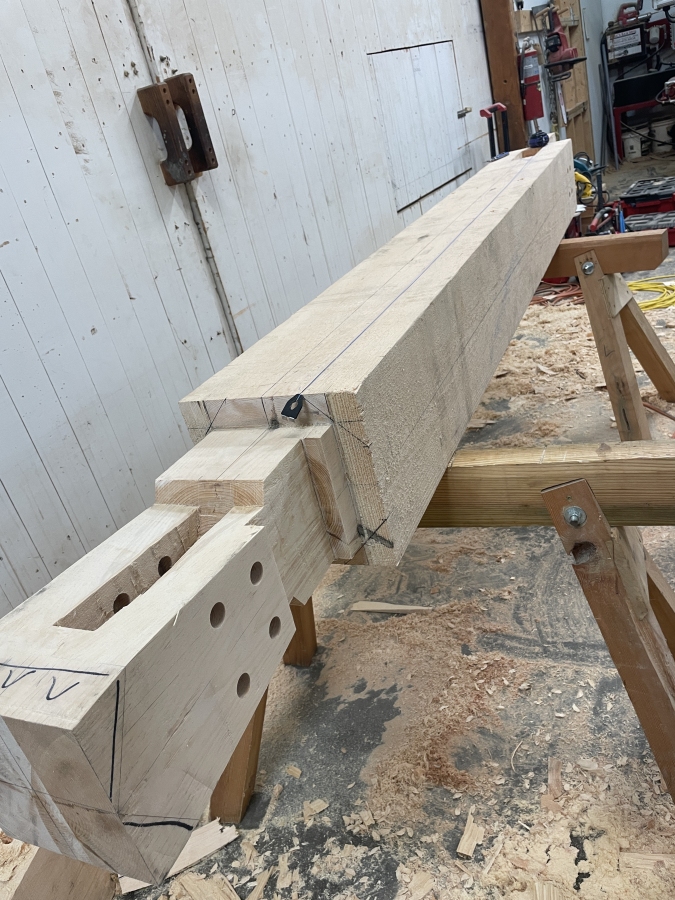
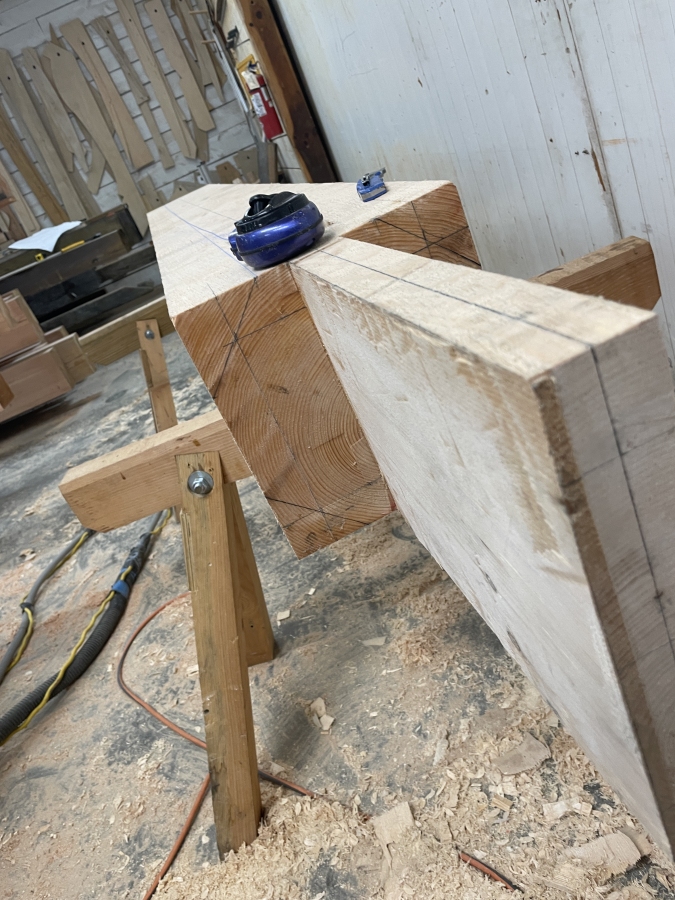
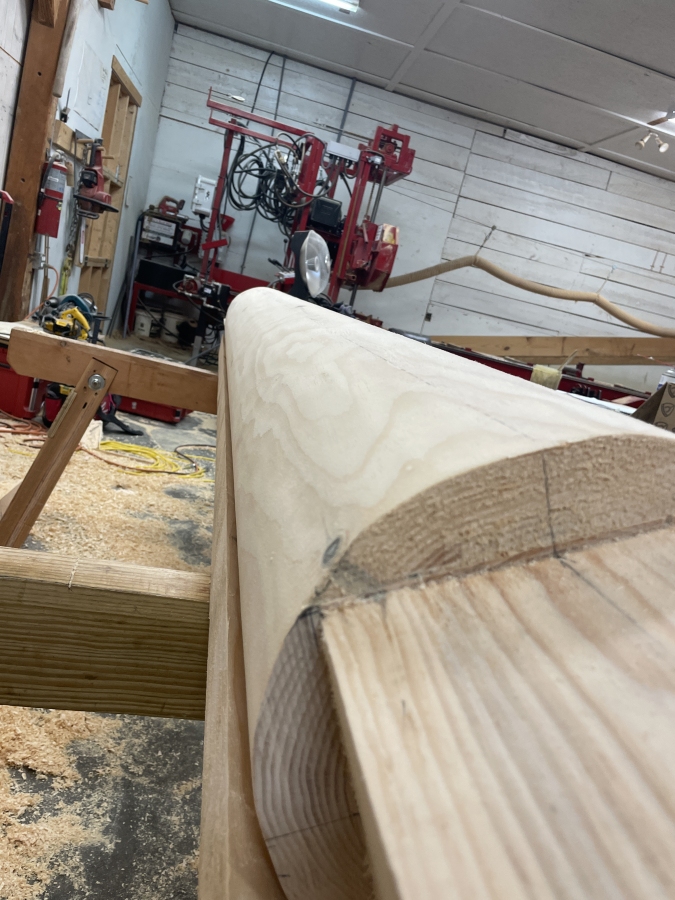
Next, layout the center lines

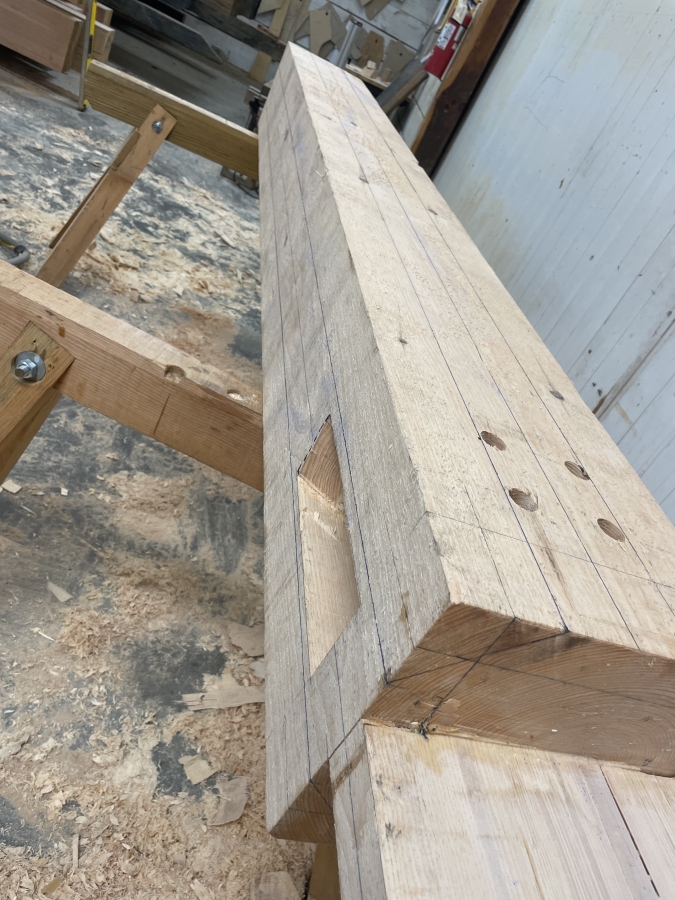
Layout the square joinery

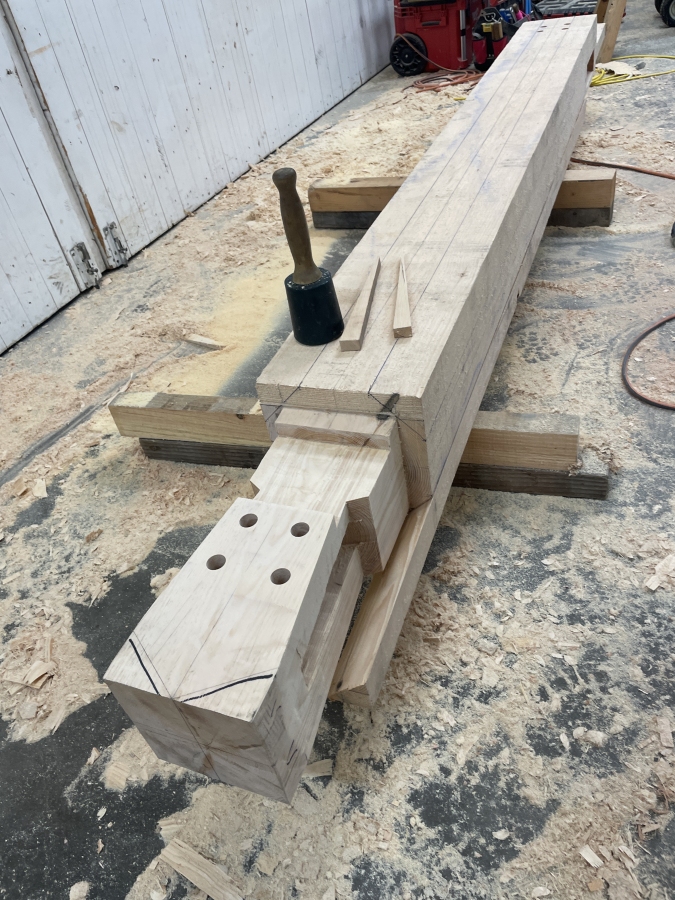
Layout the through tenon

Layout the post top tenons


Cutting joinery by hand


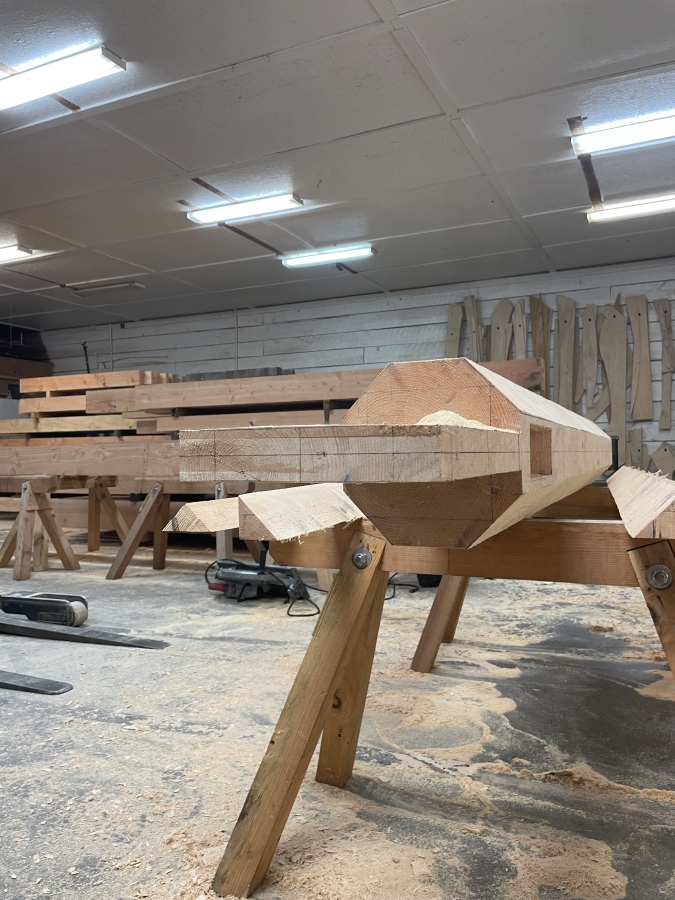
Cutting the the square timber into an octagon


Cutting the octagon

Octagonal is the new shape!

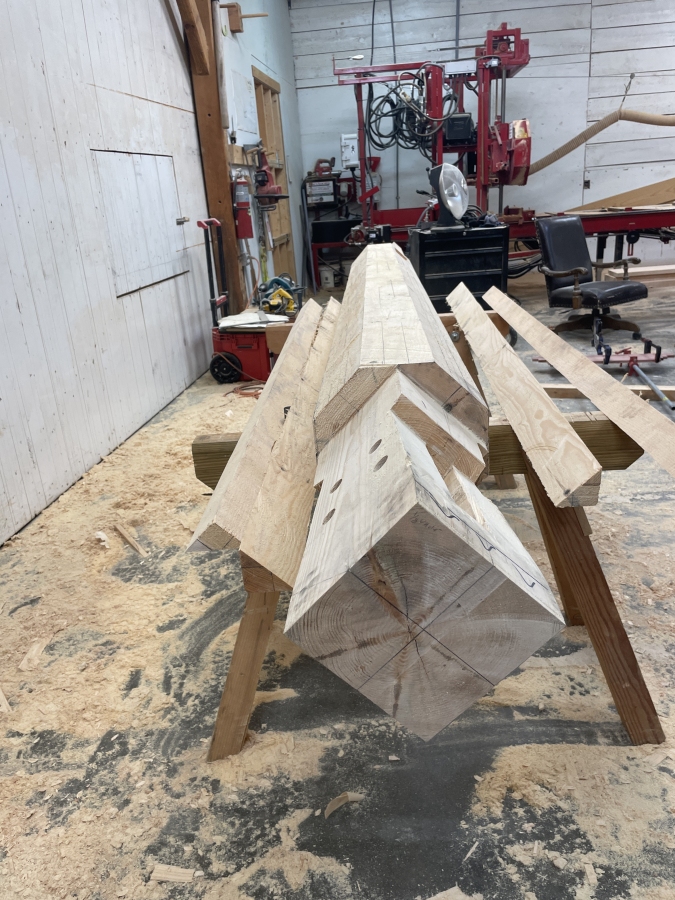
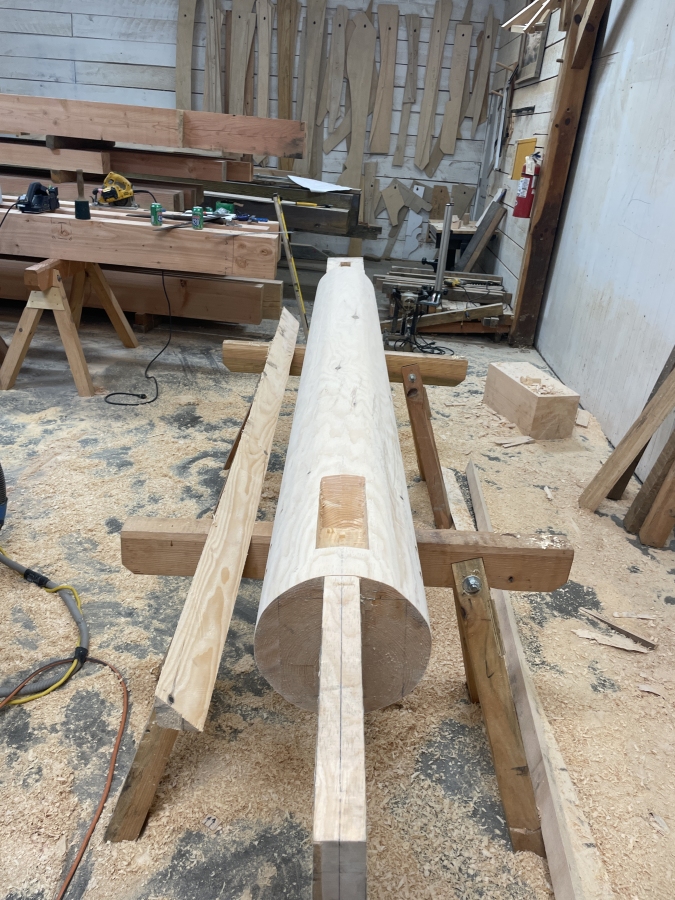
Next step - power plane to take the timber from octagon to round

Begin making the timber round

Continue rounding

Now for the 8"x8" layout

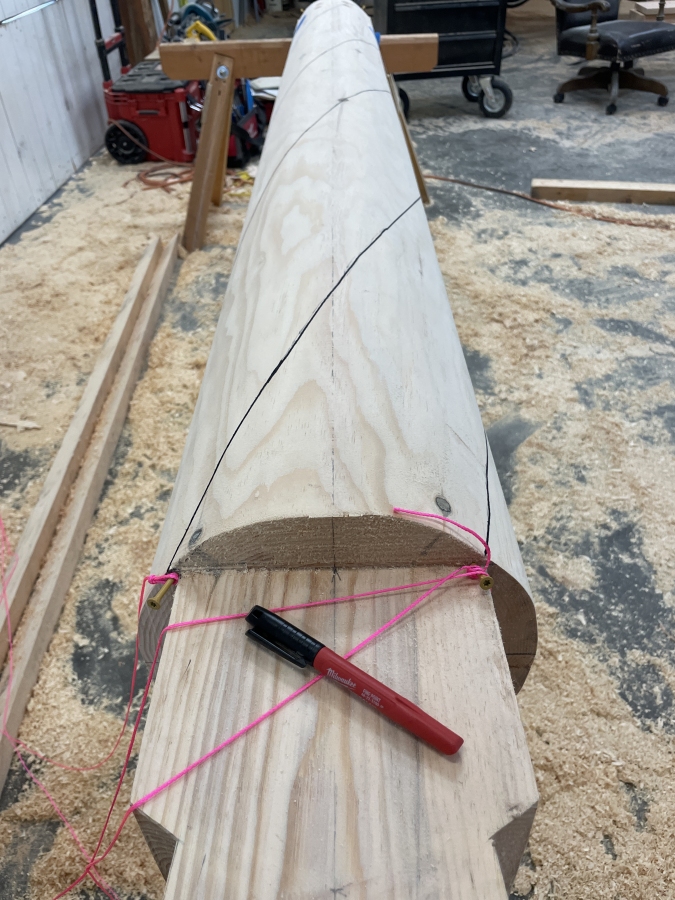
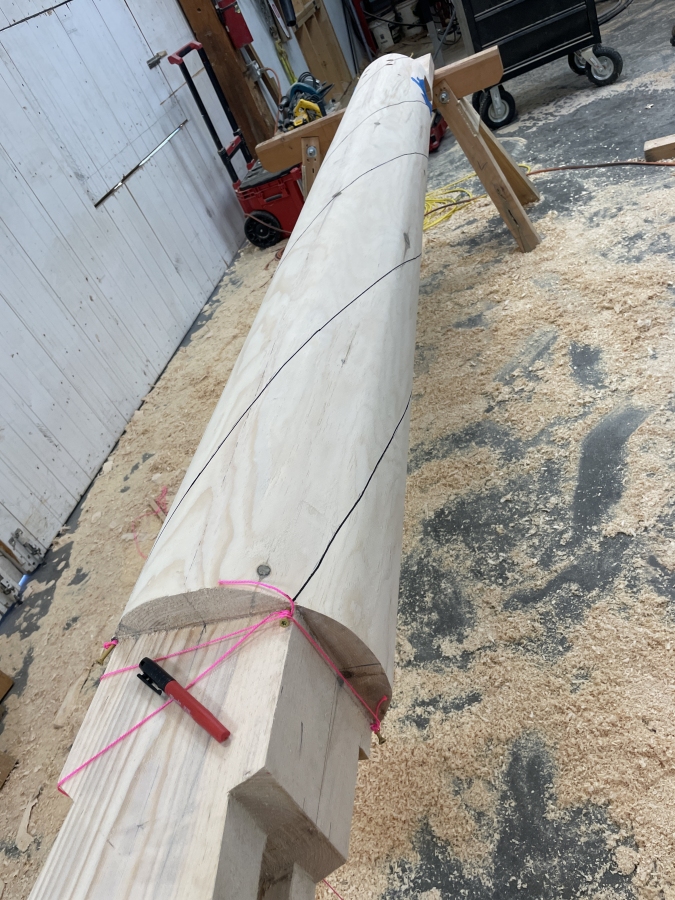
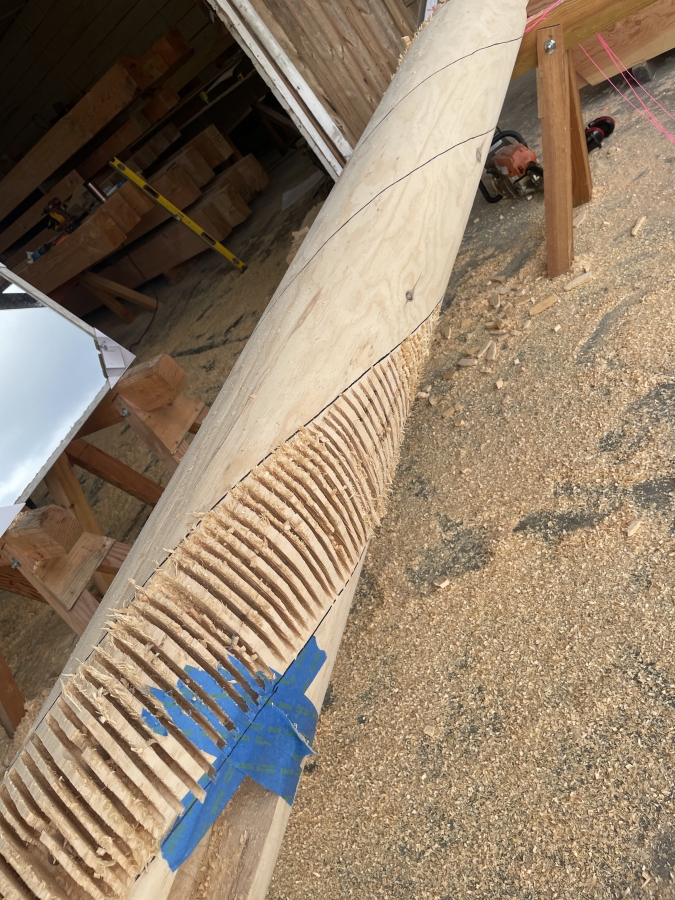
Spiral is laid out first with string

Then the spiral is drawn on the timber

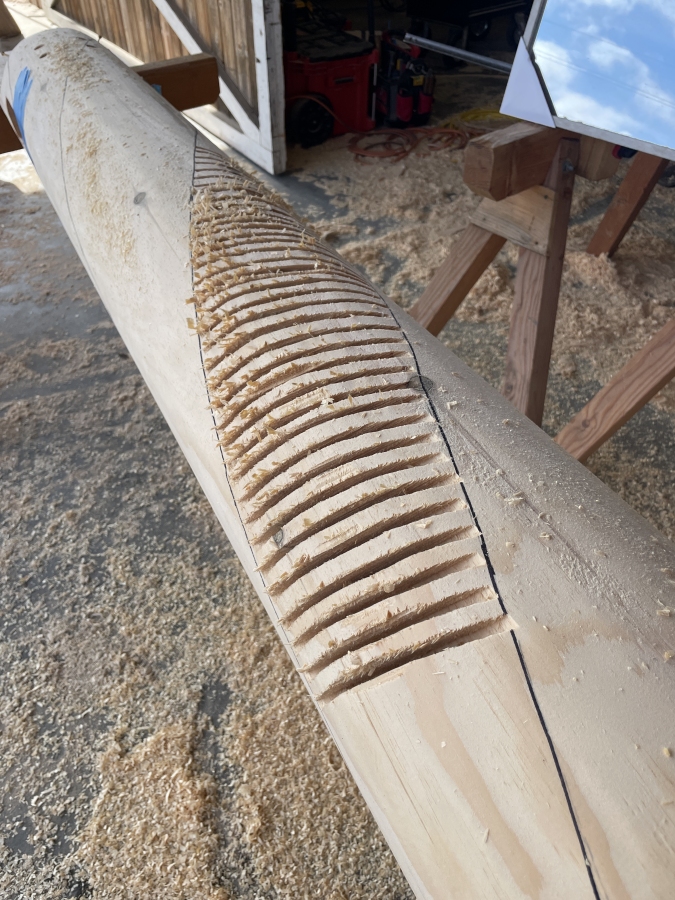
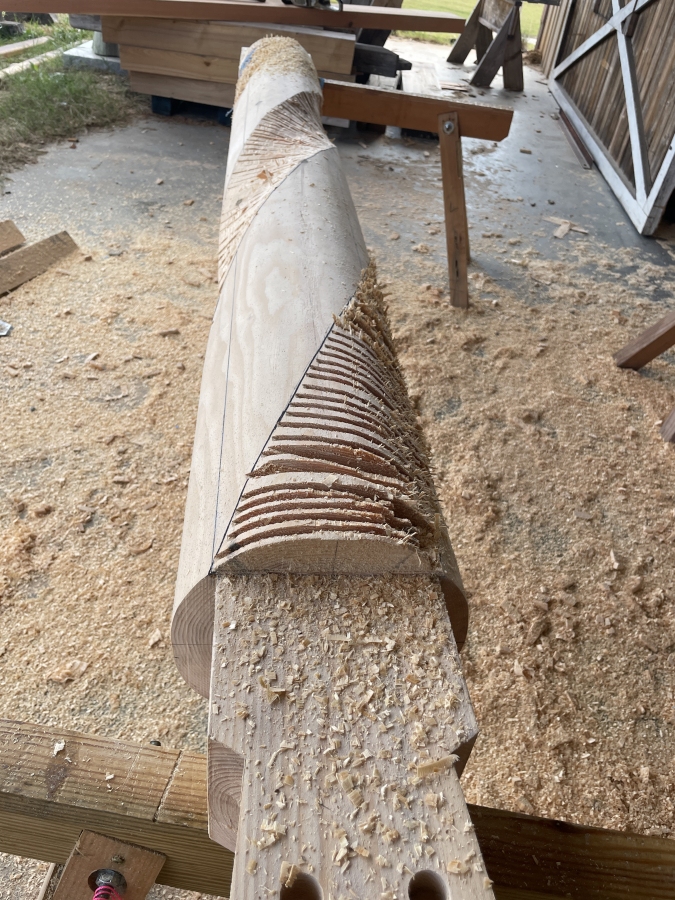
Next step is to start kerfing

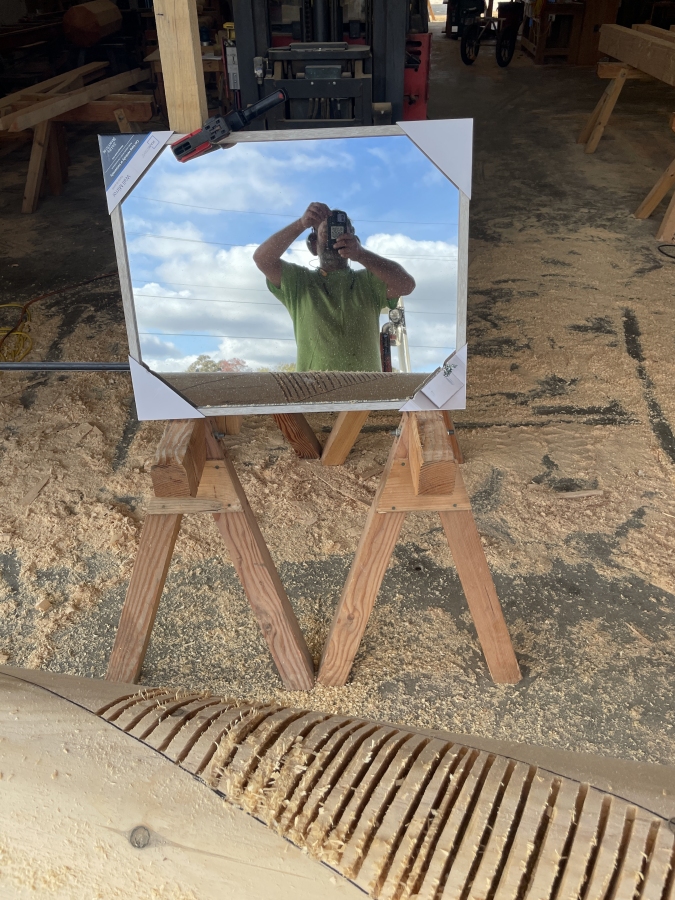
Use a mirror to assist with kerfing

The mirror allows you to see around the curve of the timber

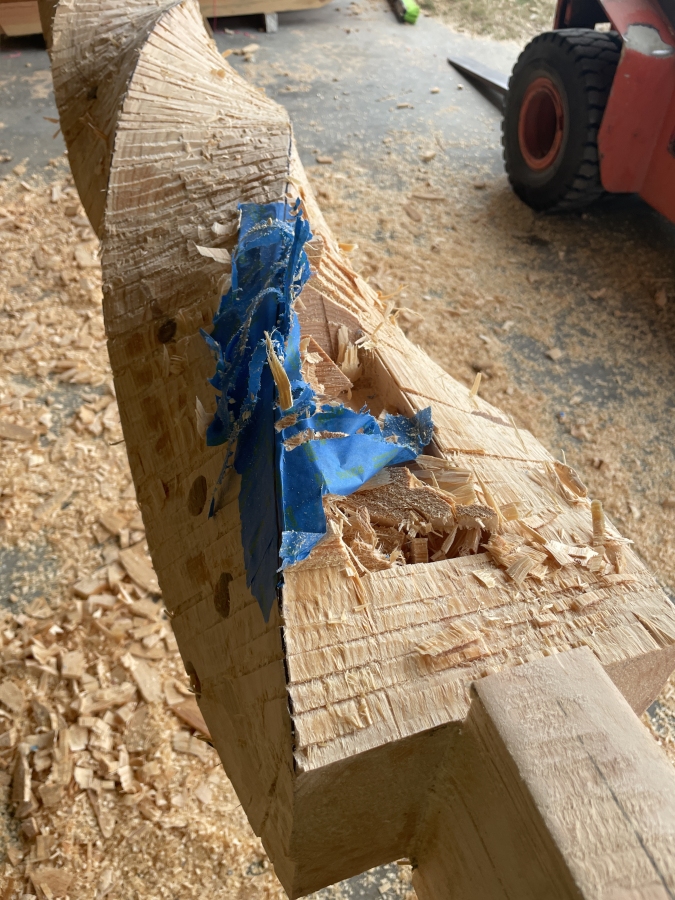
Blue tape is used to reference the spiral over joinery that was already cut in the timber


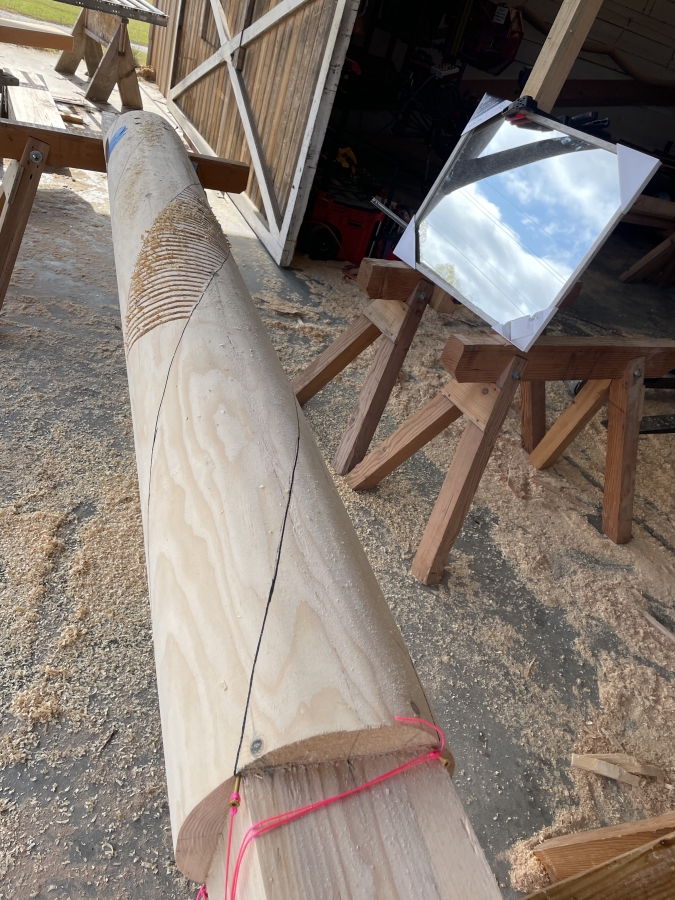
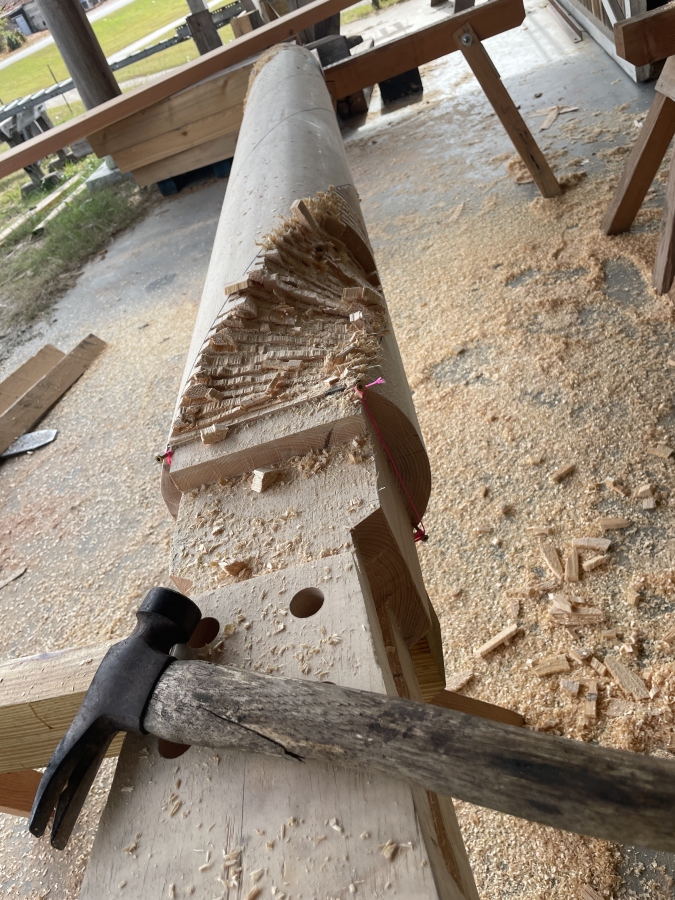
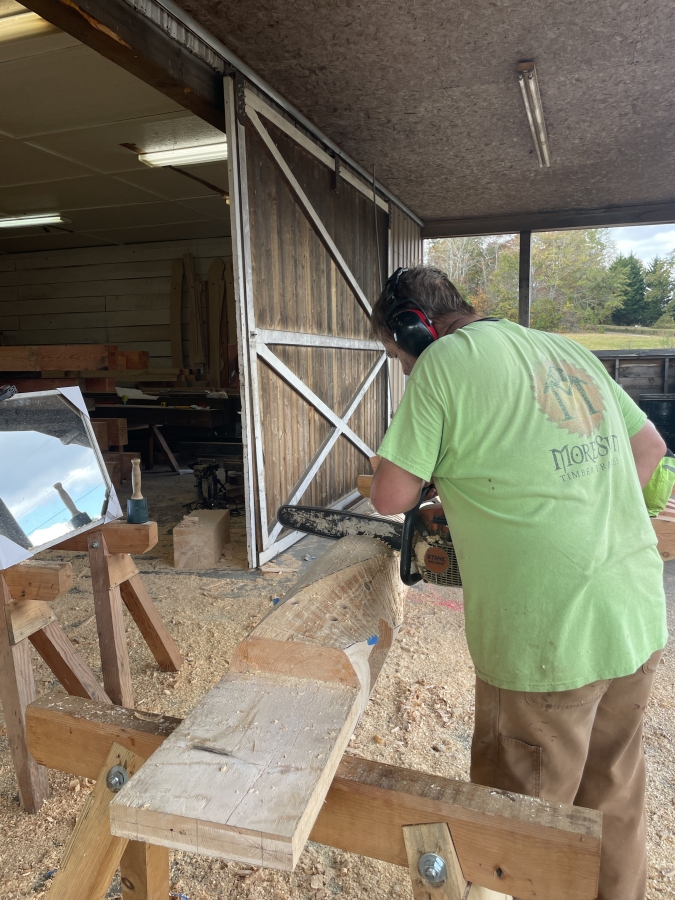
Cleaning kerfs, removing the cut pieces of timber


Cleaning more kerfs

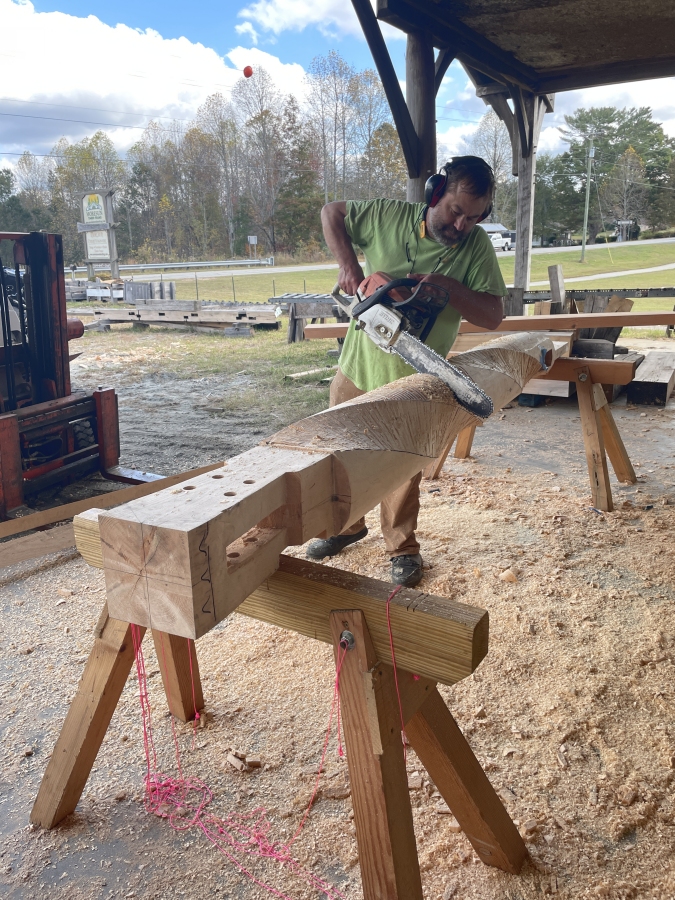
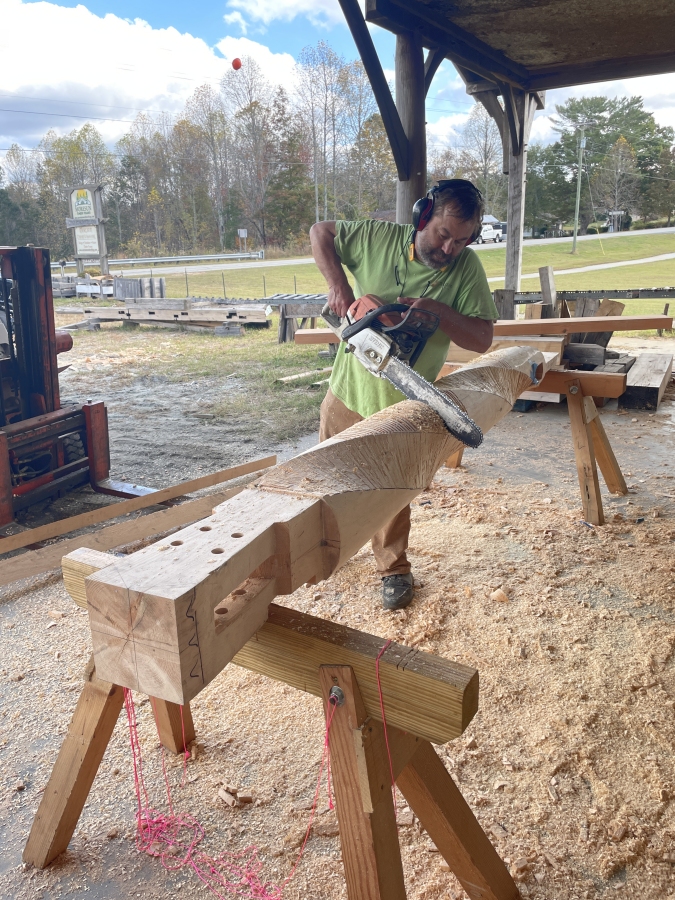
Cutting more with the chainsaw

Be precise with the depth of these cuts


More kerfing

Blue tape is covering the joinery


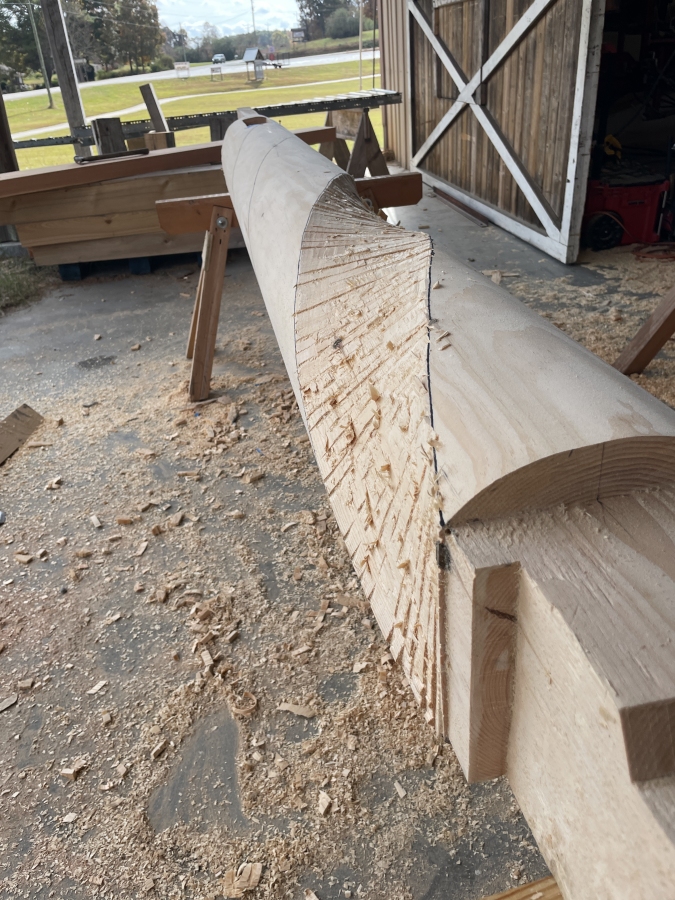
All four sides are now roughed out


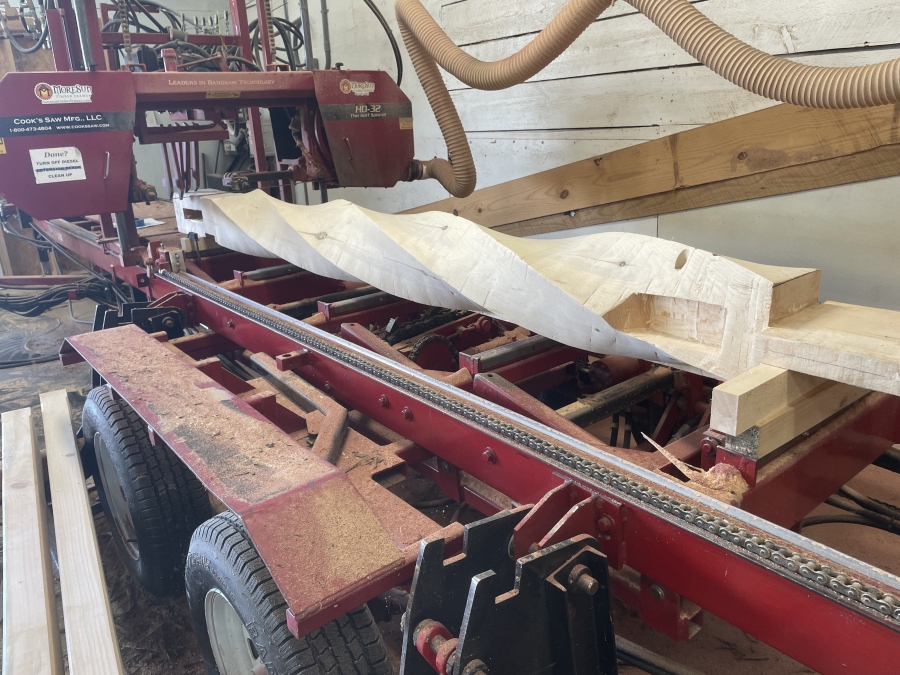
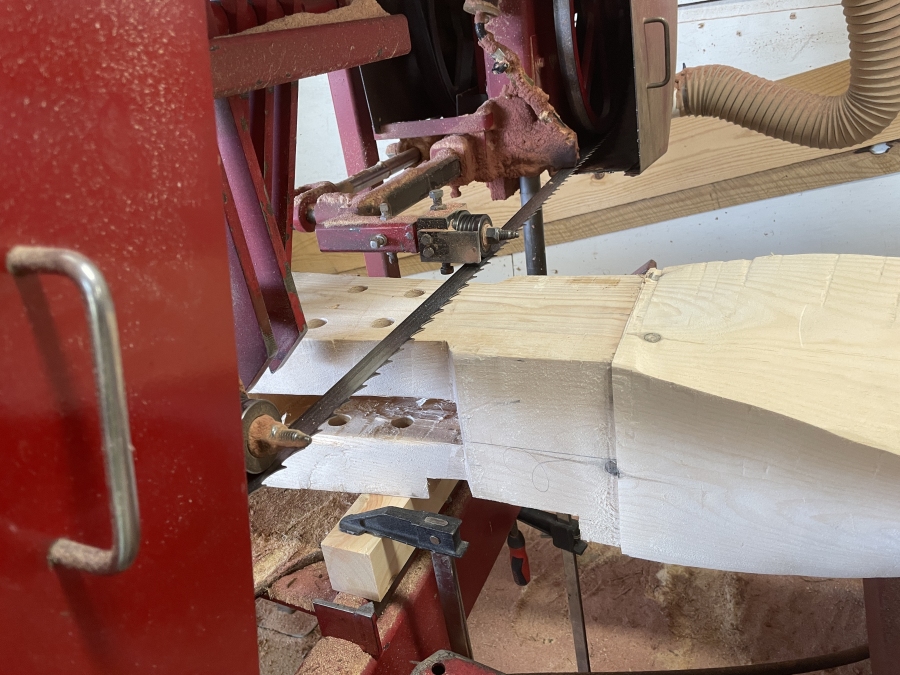
Milling one side flat on the sawmill

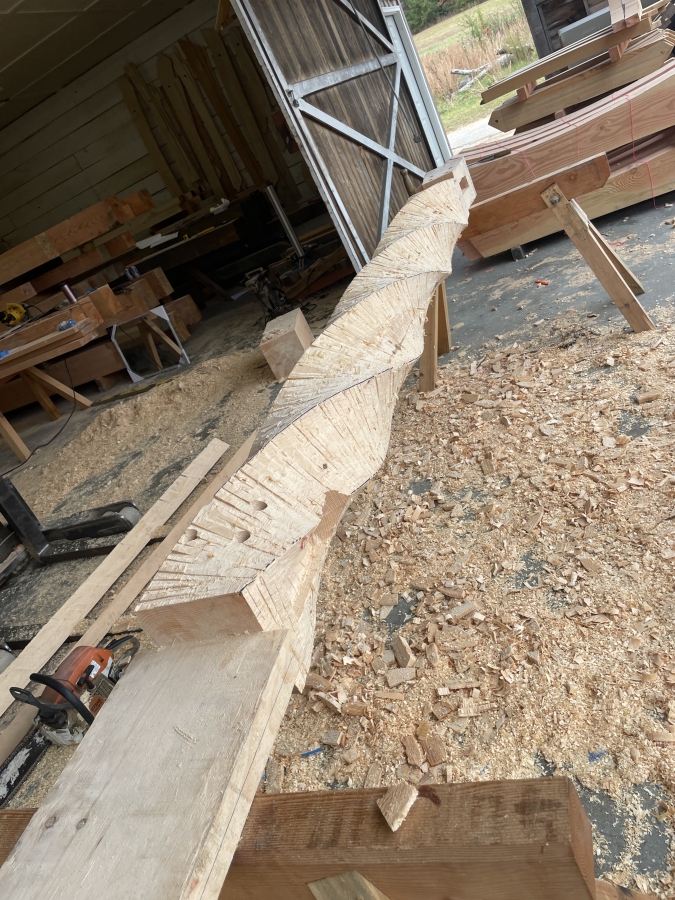
Spiral is mostly cleaned

Milling the flat side

Flat side will go against the wall

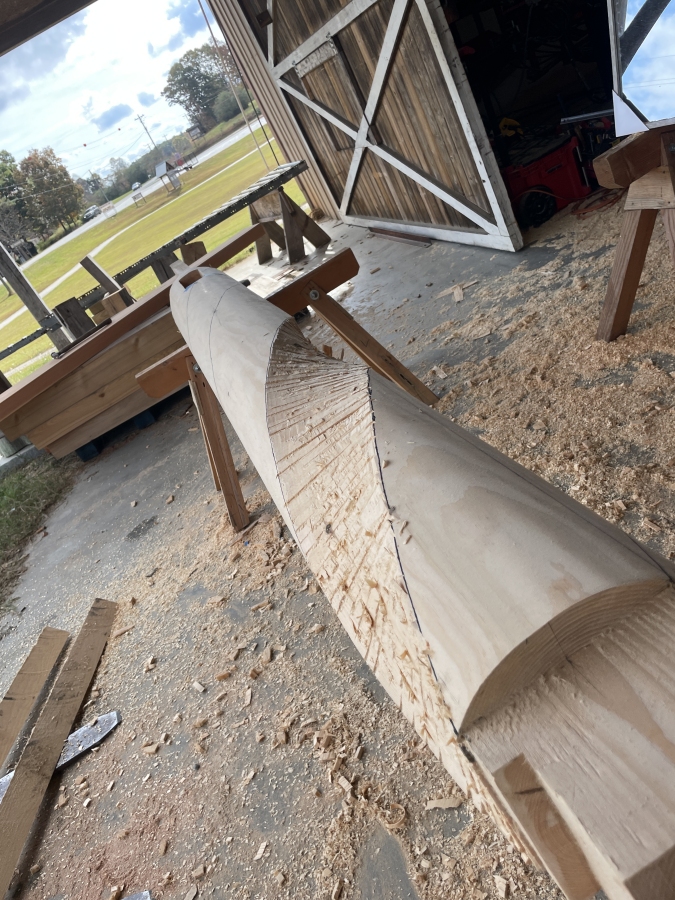
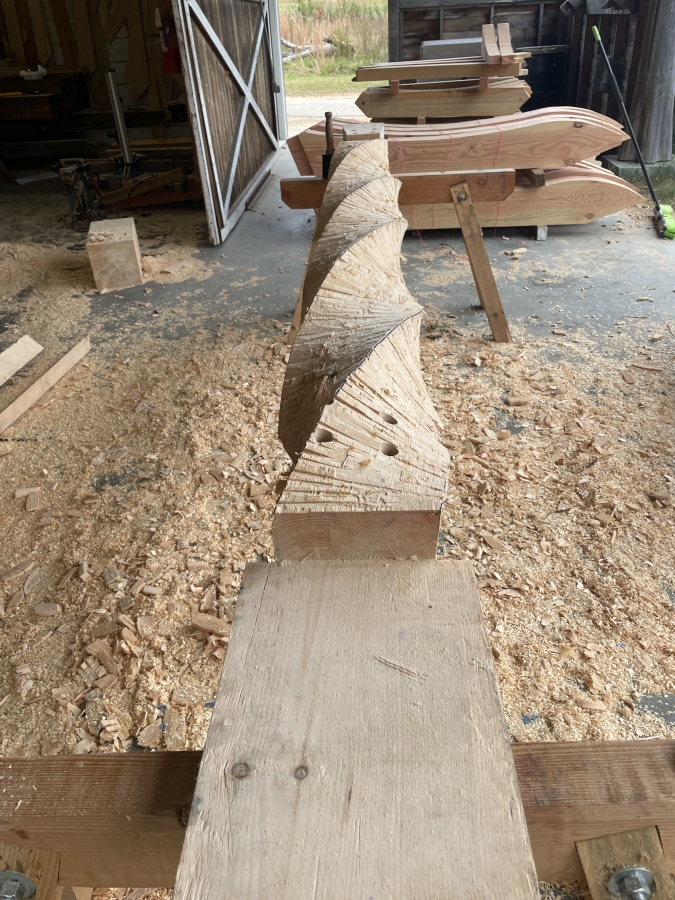
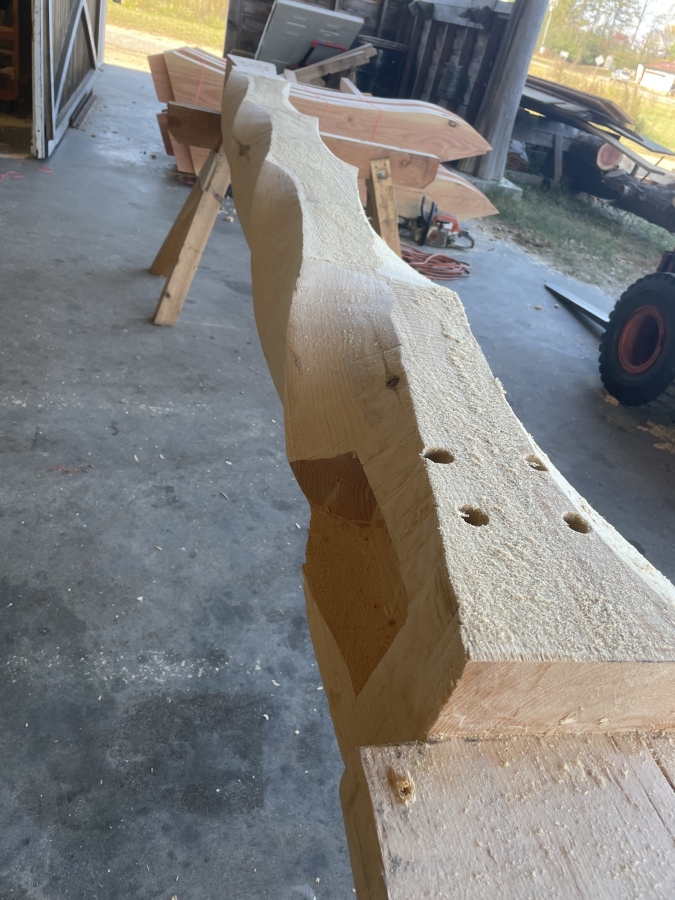
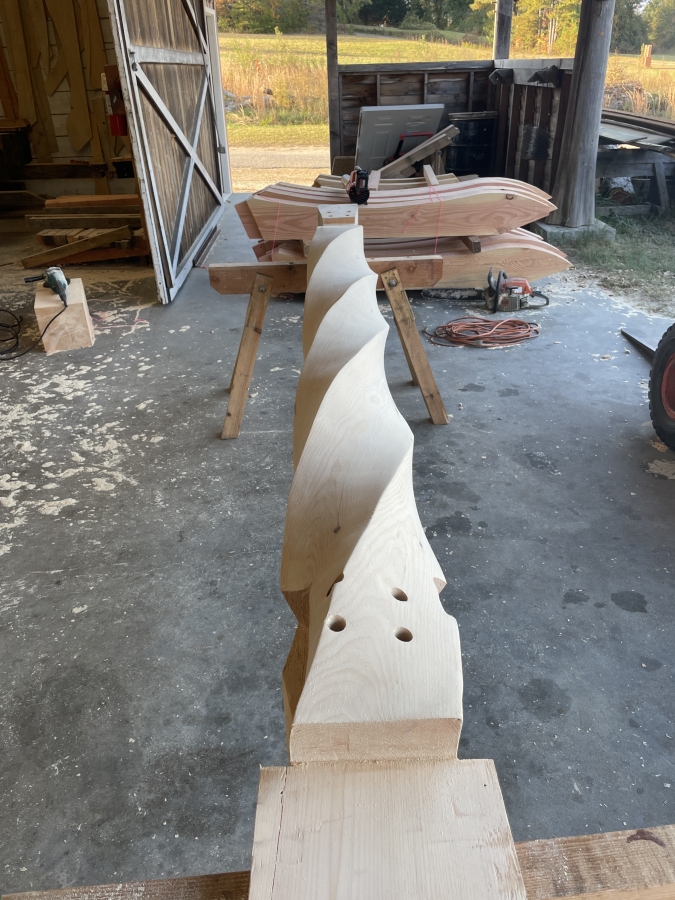
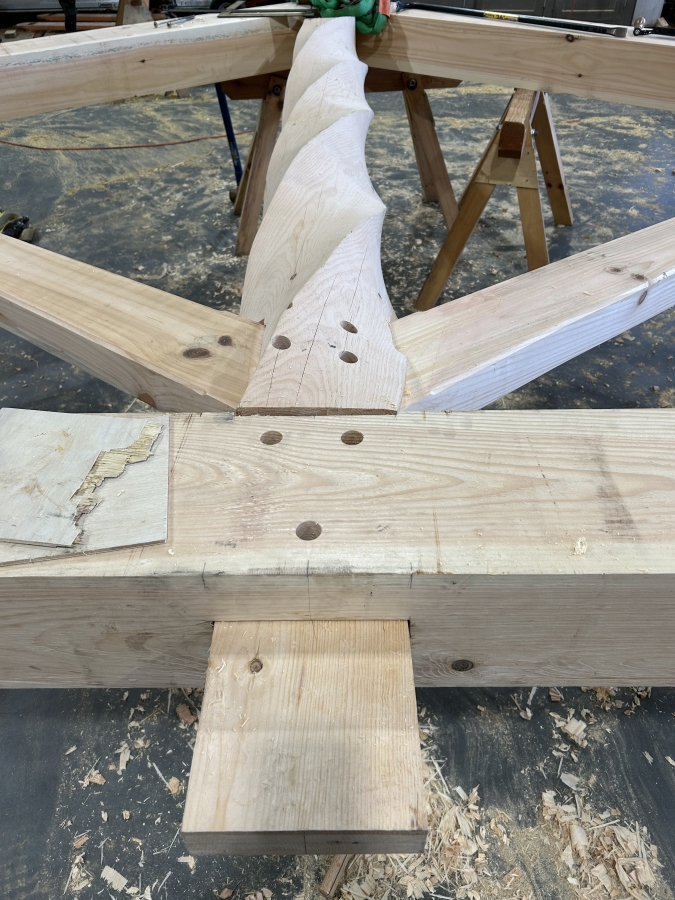
Spiral is finished and ready for test fit

Test fit

Fit up